i think we can unequivocally say: potatoes are life. especially this time of year. around mid-june, back on the east coast, would be the beginning of new potato season. my favorite farm stand, fishkill farms at our tiny brooklyn farmers market had the best little taters, second only to the csa potatoes my mom would get from stone barns farm. every week we looked forward to roasting them plain with a bit of salt & pep, grilling them kebab-style with red onions, or making a potato salad. but in all that time, i never tried a smashed version. a couple weeks ago, frank and i had a very casual memorial day celebration at our place, and i made smashed potatoes for the first time! and now i'm kind of obsessed with them. so much so, i have a few notes/technique tips for you to making these potatoes the very best.
let's get started:
to start, choose your potatoes wisely. I would advise to use fresh, market potatoes, simply because they taste the best. you also want to keep them whole when you boil them, so the little to medium ones work best.
next, i tried 3 different techniques in smashing them: using the bottom of a glass - this worked, but didn't make the potatoes craggy enough. getting as many craggy surfaces allows for a lot of crunchy bits - which is key. using the bottom of a baking sheet - while this is a great way to smash them if you're low on time, it still doesn't' produce a craggy enough surface (for me). using a fork - i used a couple different forks, and what i found best was a large serving fork. the potatoes are quite tender at the point when you're smashing them, so i found that a large fork, with a good amount of space between each prong worked the best. and, drum roll, they produced the very best craggy, crunchy tops! take away: use a serving fork!
another find. this might be controversial, but we're gonna roll with it. i know there's all sorts of scientific studies/research that you should really use high heat oil when cooking above 350°F, and i usually do, but i really couldn't get down with the flavor of avocado oil on these babes. so! i used extra virgin olive oil for that perfect flavor.
serve them immediately. they're best when served straight out of the oven. i wouldn't recommend this as a make-ahead dish. you can reheat them, but they're kinda not the same (similar to reheating french fries, ya know?). and that it on my notes!
one more thing, i served these with a simple harissa yogurt sauce, which adds creamy, spicy, cool elements to the mix that just give you just about everything you need. but could definitely eat them plain, with vegan sour cream, maybe some kite hill cream cheese, yogurt-tahini sauce, etc., etc.!
happy june, lovelies!! xo
salty smashed potatoes w/ harissa yogurt | v & gf
- to note, the harissa paste i used had preserved lemon in it. so, if you're using a homemade or store-bought harissa, with no lemon juice, i would suggest adding a squeeze into the sauce.
- all other recipe notes can be found above! :)
PRINT THE RECIPE!
| serves 4 |
- 1 1/2 pounds new potatoes
- 3 tablespoons extra virgin olive oil, plus more for greasing
- 2 tablespoons chopped parsley, plus more for garnish
- flaky sea salt
- fresh ground pepper
harissa yogurt (makes extra)
- 5 ounces dairy-free (plain, unsweetened) greek-style yogurt (preferably this brand)
- 2 tablespoons harissa paste (this is my favorite brand)
- 1-2 teaspoons maple syrup
- 1 garlic clove, grated
- fine sea salt
- fresh ground pepper
- chopped parsley and dill, for garnish (optional)
method
- place the potatoes in a large pot of salted water, and bring to a boil. turn the heat down to a simmer. cook the potatoes until just tender (use a sharp knife to pierce a potato, if it sticks a bit but can easily slide off the knife they're ready), checking at the 10 minute mark, if they're not tender, continue to cook, checking after a couple of minutes under tender.
- while the potatoes are cooking, mix together the yogurt, harissa, 1 teaspoon maple syrup, garlic, and salt and pepper to taste. taste and add more maple syrup if needed. cover, and place in the refrigerator until ready to serve.
- drain the potatoes, then let them dry a clean dish towel.
- preheat the oven to 450°F. line 2 baking sheets with parchments paper, and grease with a good drizzle of olive oil; use your hands to distribute it evenly. place the potatoes on the oiled pans, about 1-2 inches apart. use a large fork (notes above) to gently smash the potatoes down.
- pour the remaining oil into a dish, use a pastry brush to brush the tops and sides. sprinkle with chopped parsley, flaky sea salt, and a few cracks of pepper.
- bake in the oven for 15-20 minutes, until browned and crisp. remove from the oven and sprinkle with more parsley, and some dill sprigs.
- serve immediately with the harissa yogurt sauce.
more potato recipes:
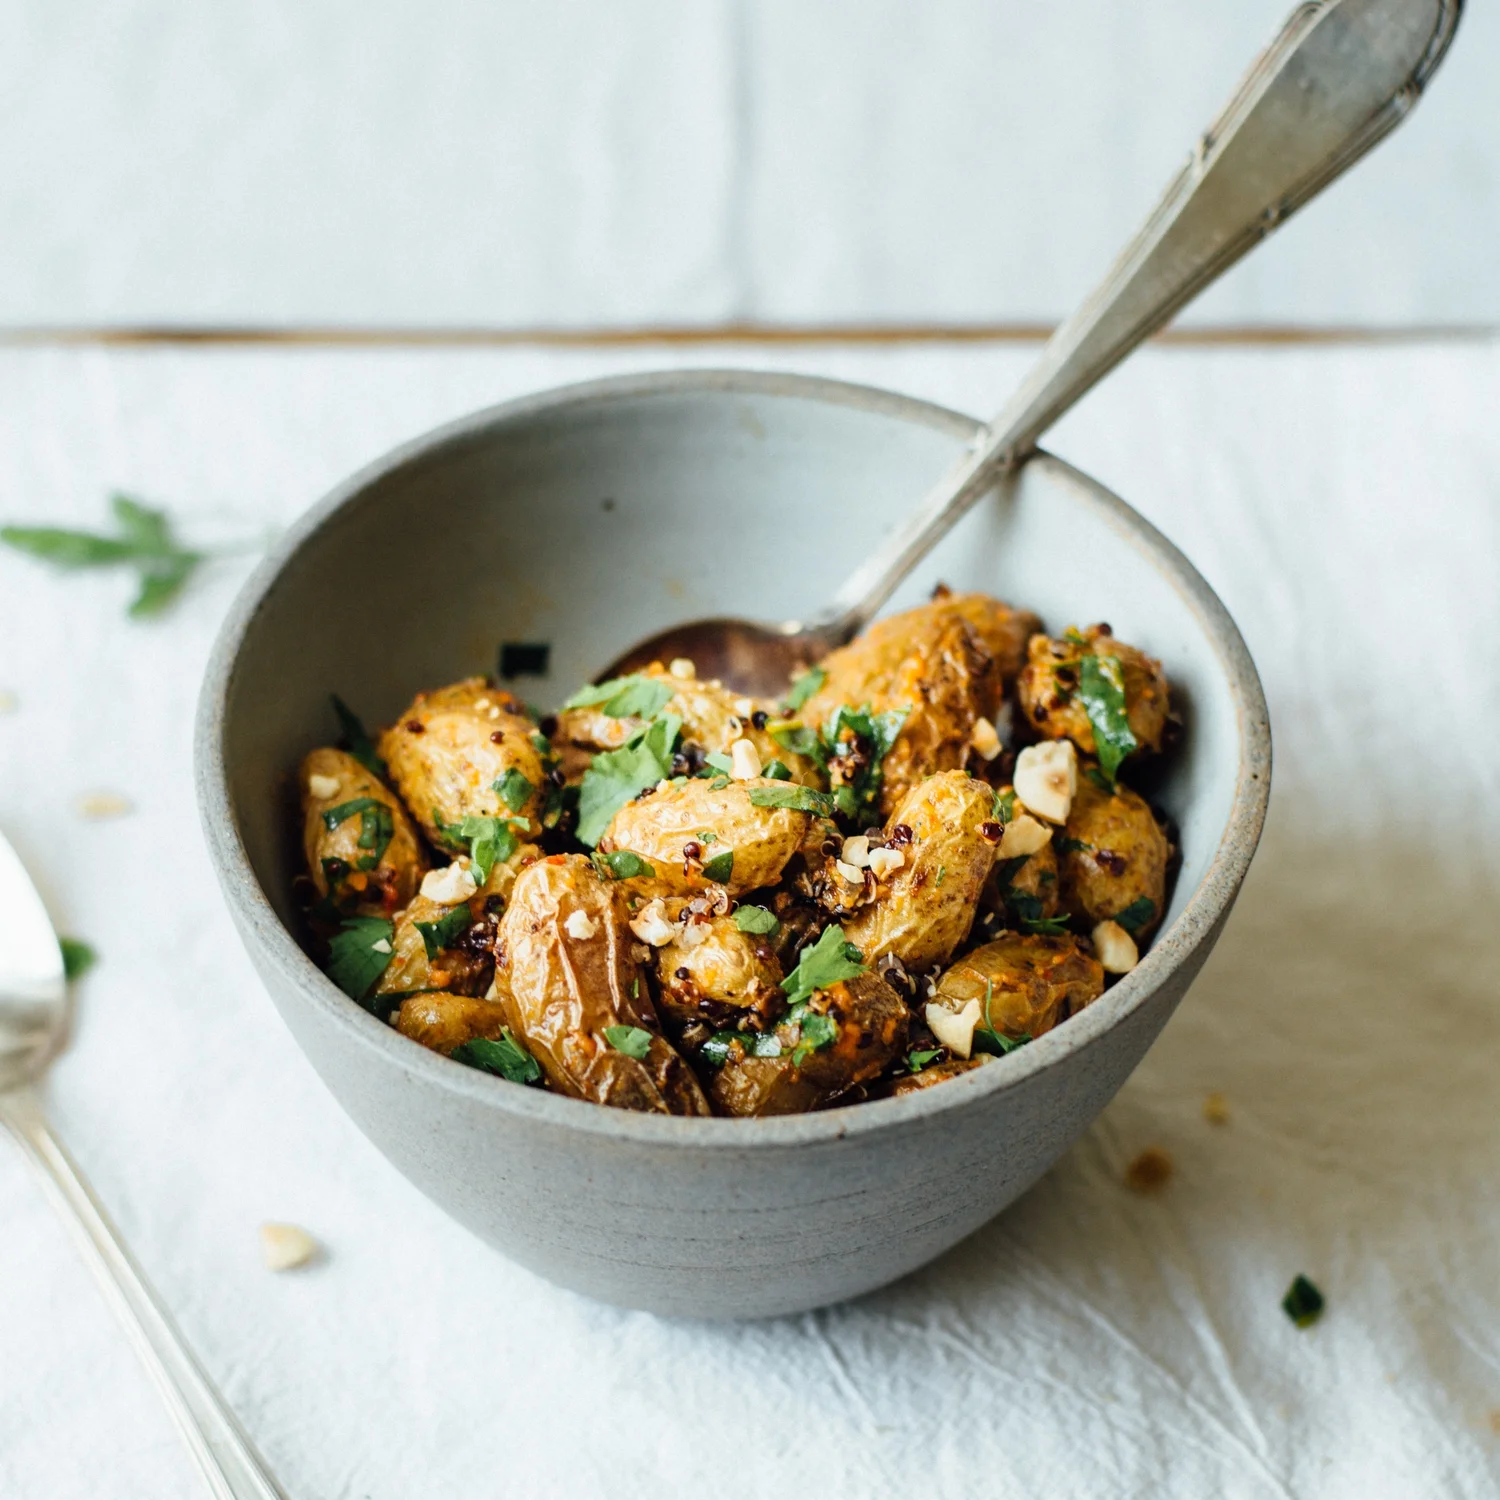
roasted fingerling w/ romesco & herby black quinoa
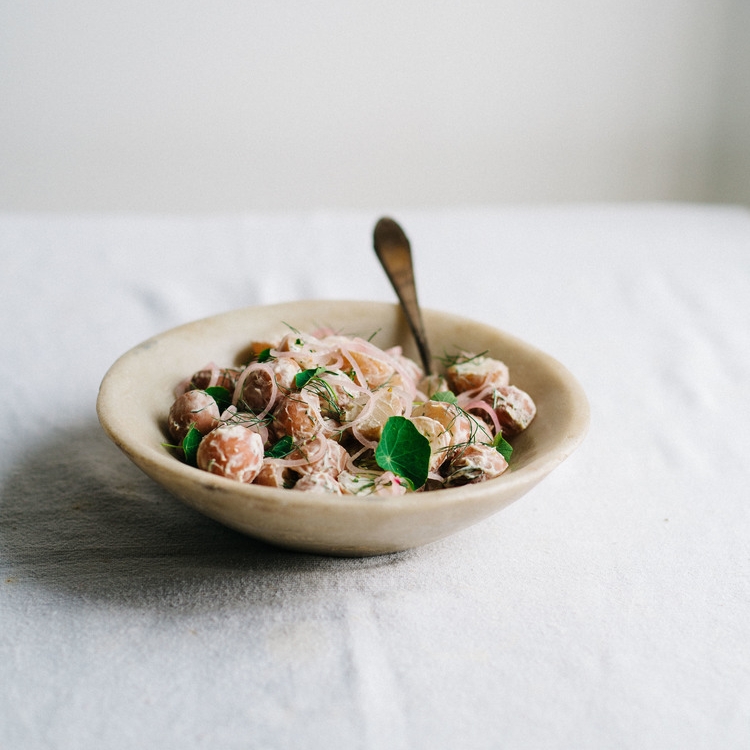
creamy horseradish potato salad w/ pickled shallots & dill

warm fingerling potatoes w/ garlic-turmeric sauce